Getting Started
The kle-ng runs entirely in your web browser — no installation required. Visit editor.keyboard-tools.xyz and start creating or editing keyboard layouts immediately.
Interface Overview
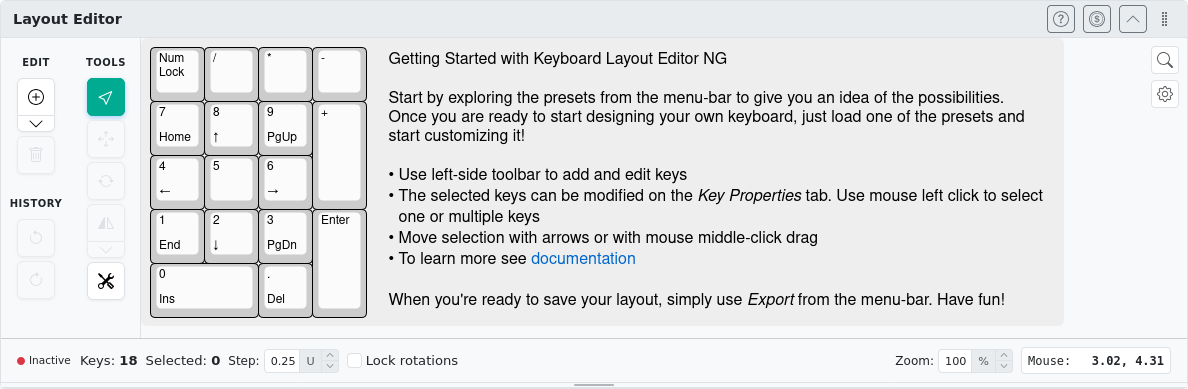
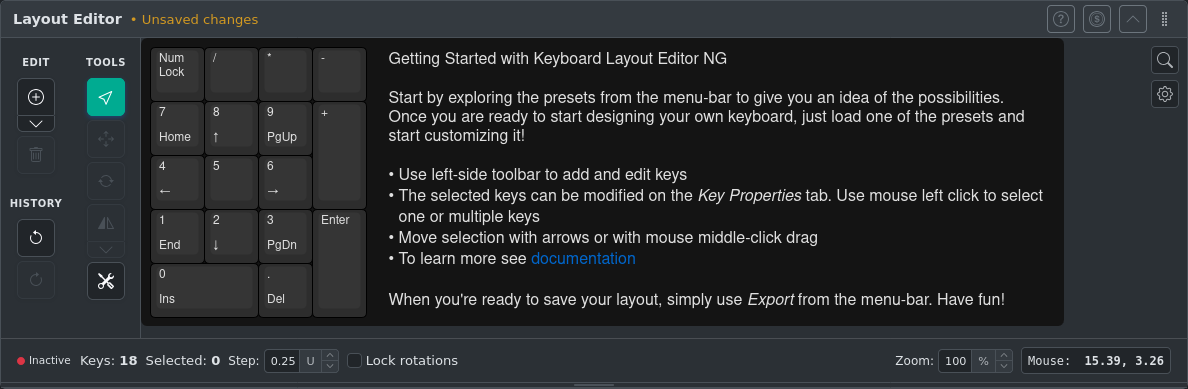
Layout Editor
The main editing area where keys are displayed and manipulated. Click to select individual keys, drag to box-select multiple keys, and use side toolbar to launch editing tools.
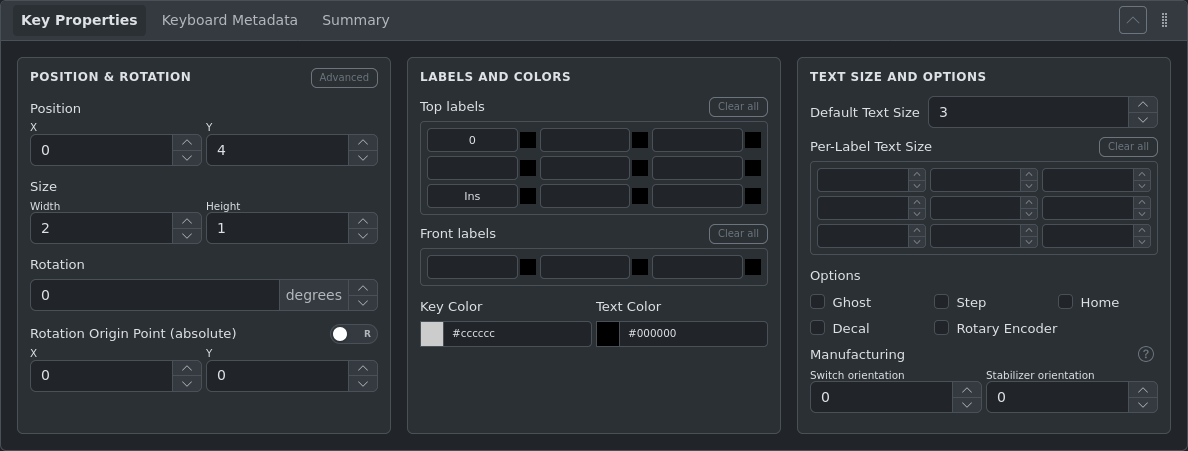
Key Properties
Controls position, size, labels, colors, and key options (ghost, stepped, homing nub, etc.). Changes apply immediately to the canvas. Controls are activated when one or more keys are selected. Properties are applied to all selected keys.

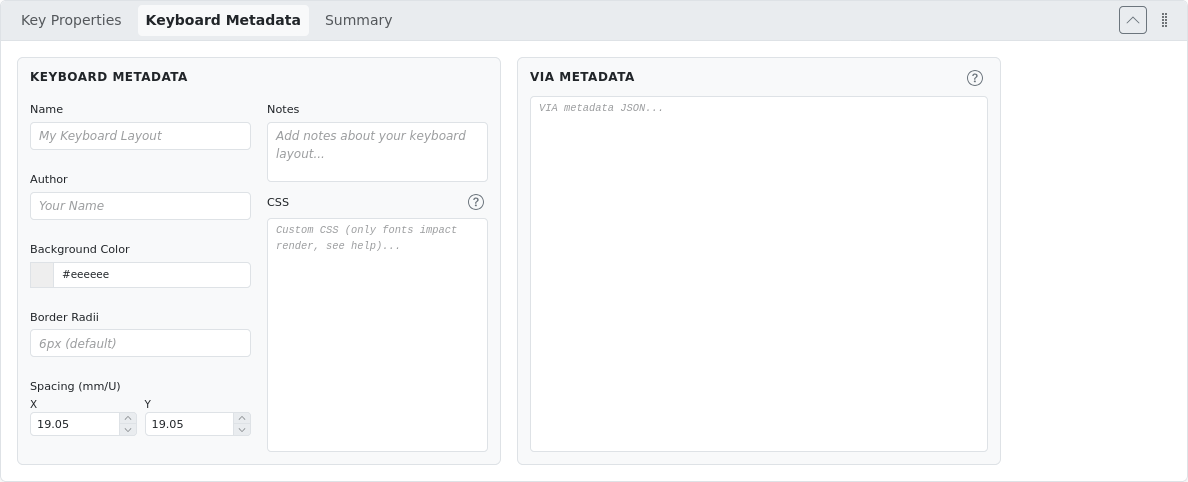
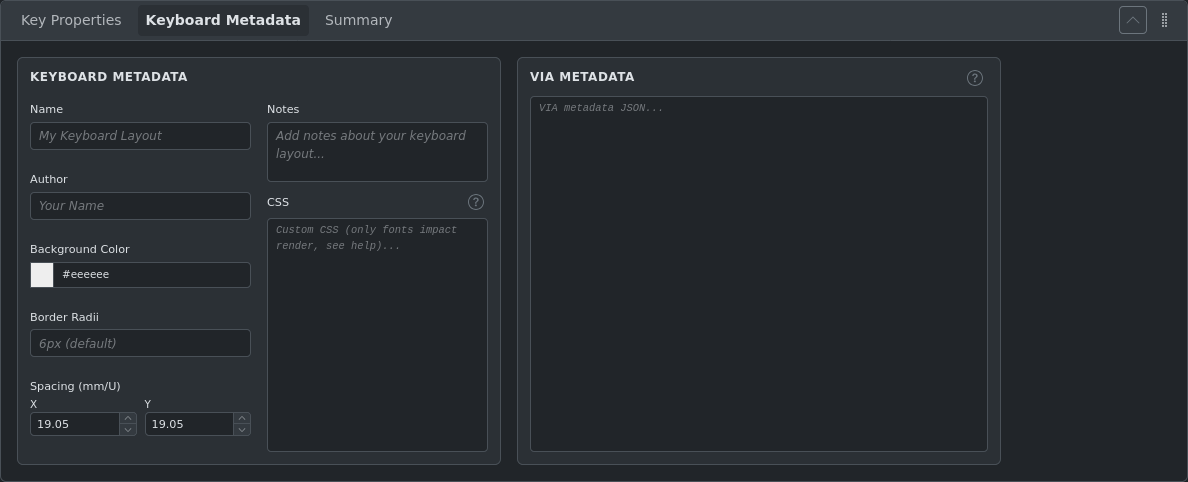
Keyboard Metadata
Layout-wide settings: name, author, background color, border radius, key spacing (mm/U), custom CSS, and VIA metadata. The CSS field accepts standard CSS and is useful for applying custom fonts — see Custom Fonts for details. The VIA metadata section stores matrix size and key assignments needed by VIA-compatible firmware — see VIA & Vial Format for details.
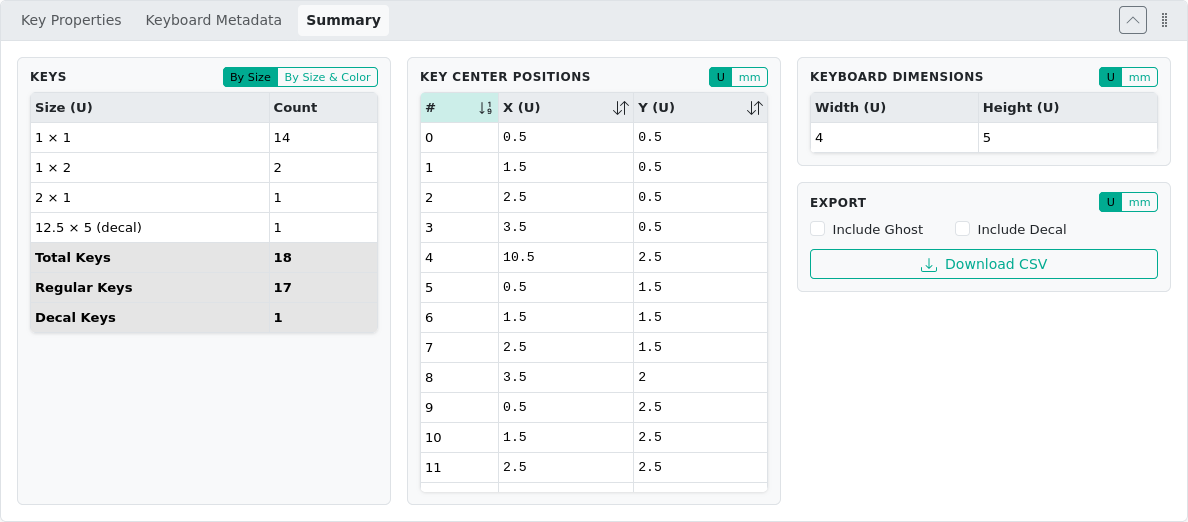
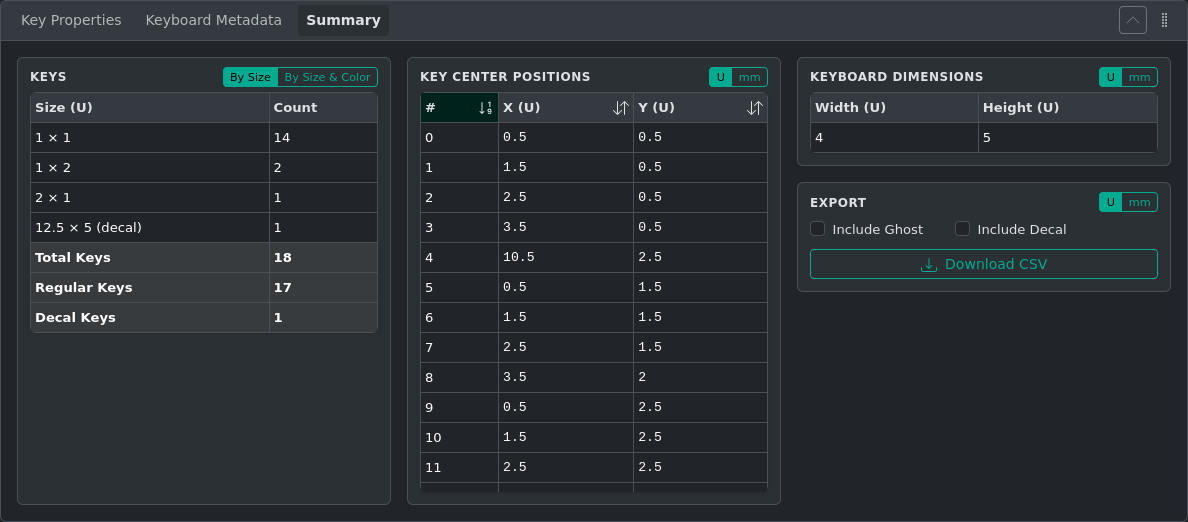
Summary
Shows layout statistics (key count, dimensions) and a table of key center positions. Includes a CSV export of all key data.
JSON Editor
Lets you view and edit the raw KLE JSON directly. Syncing changes with canvas requires clicking Apply Changes button.
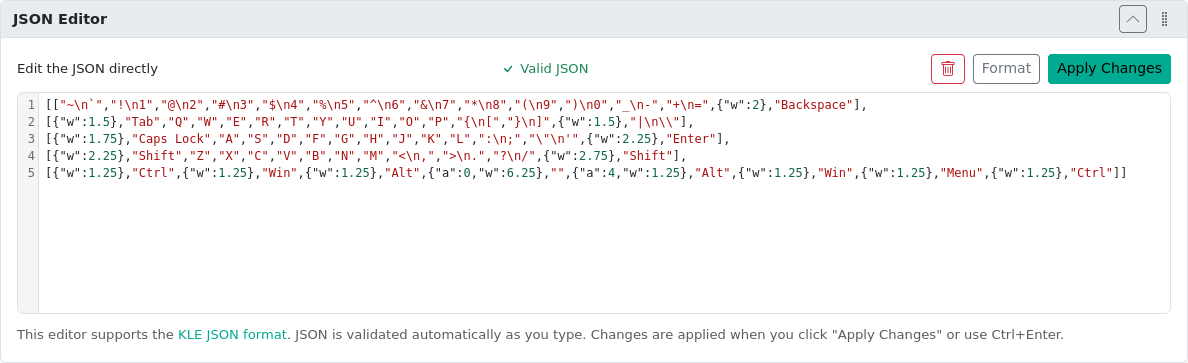
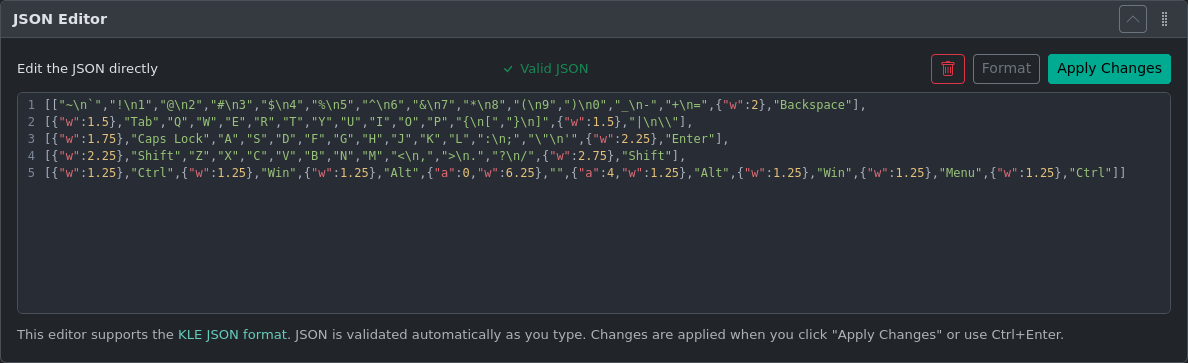
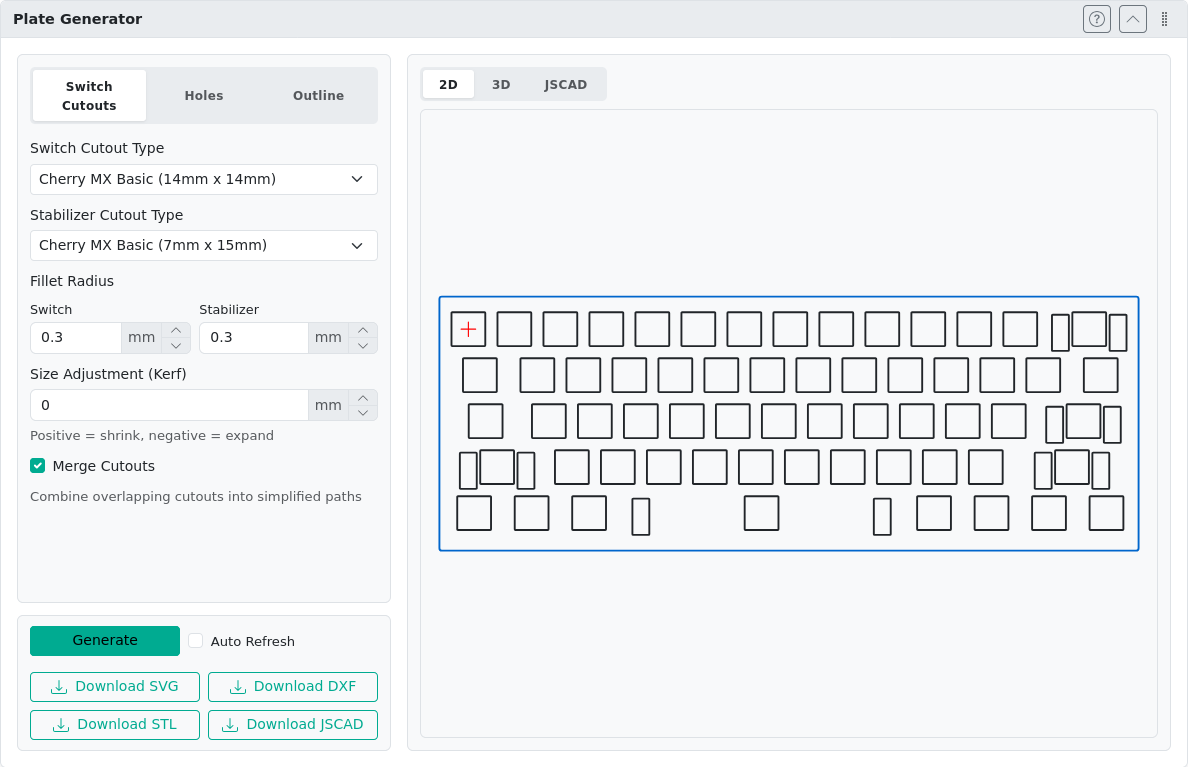
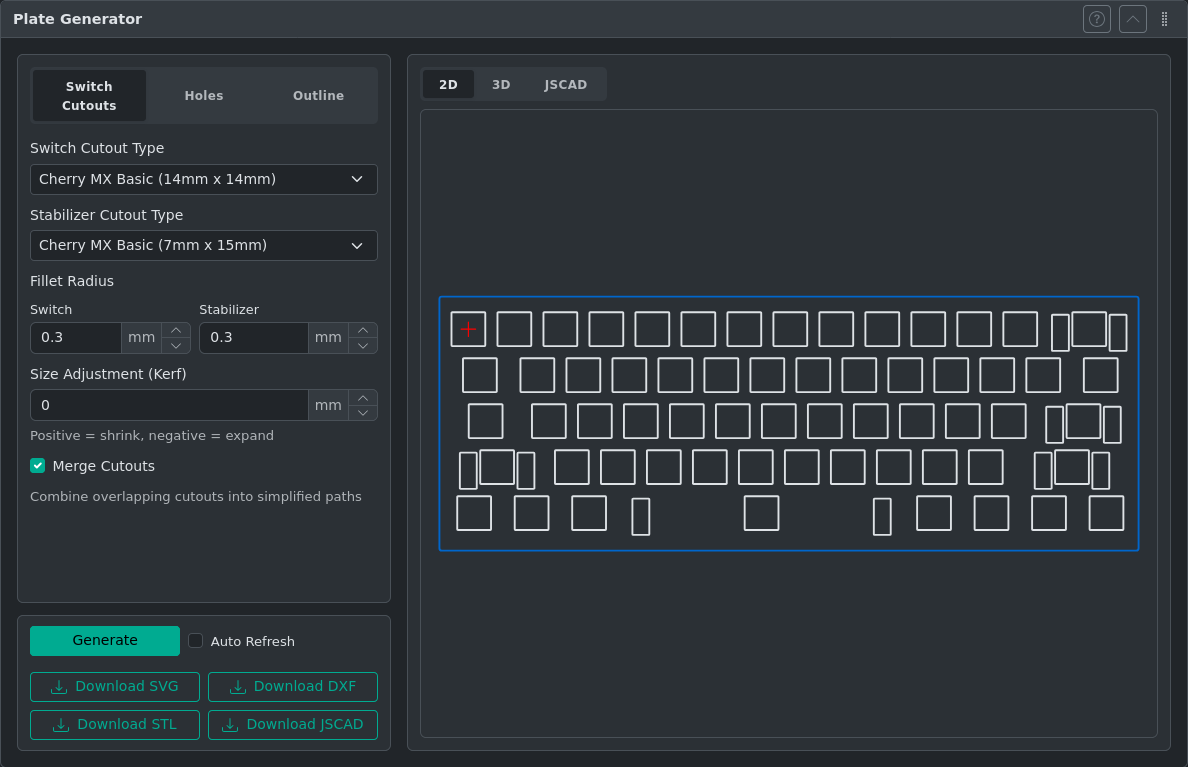
Plate Generator
Generates switch and stabilizer cutout files for manufacturing keyboard plates. Supports Cherry MX, Alps, and Kailh Choc switch types, and exports to SVG, DXF, STL, and JSCAD. See Plate Generator for full details.
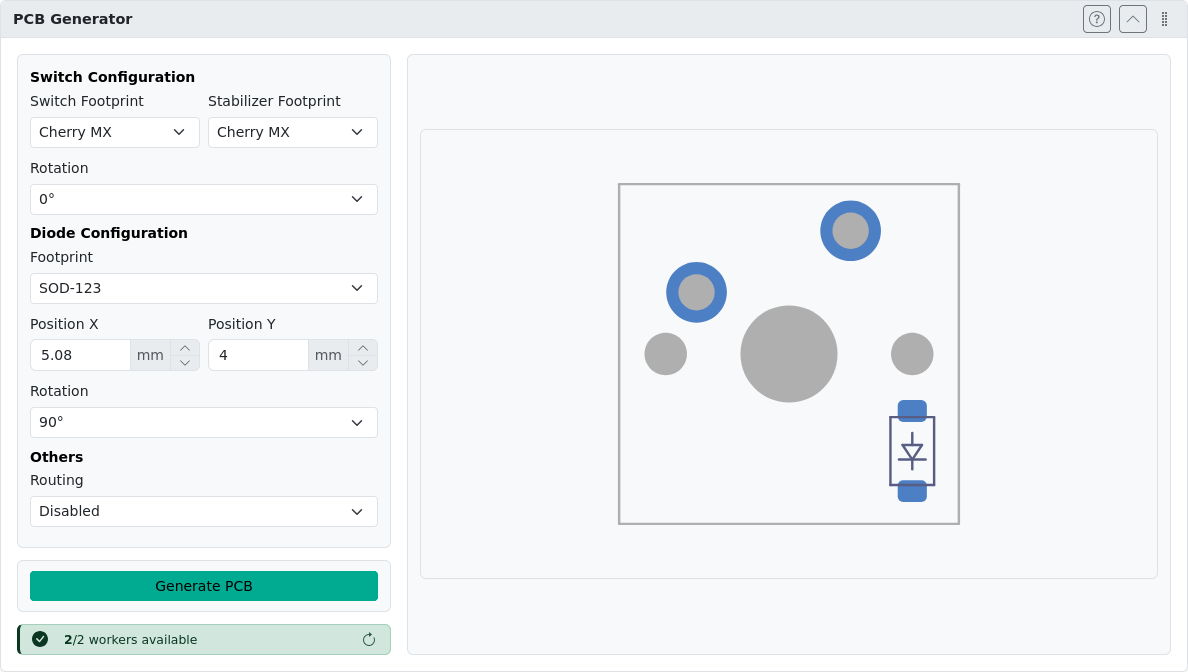
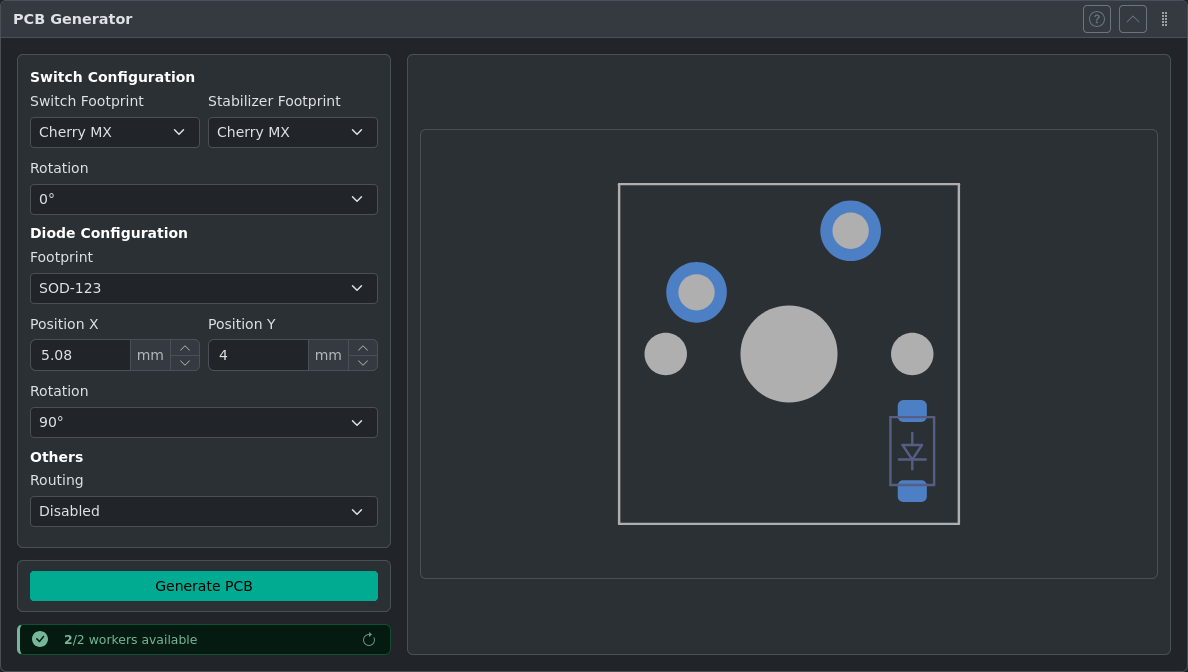
PCB Generator
Generates a KiCad PCB project file from your layout, with switch footprints placed at the correct positions and a routed switch matrix. Requires matrix coordinates assigned to all keys beforehand. See PCB Generator for full details.
The Unit System
All key positions and sizes in kle-ng are expressed in U (keyboard units). One U is the width of a standard alphanumeric key (for example, A, S, D).
Common Key Sizes
| Size | Example keys |
|---|---|
| 1U | Standard alphanumeric keys |
| 1.25U | Tab, \ on some layouts |
| 1.5U | Tab on standard ANSI layouts |
| 2U | Numpad 0, some Backspace keys |
| 6.25U | Standard spacebar |
Physical Spacing
The physical size of 1U is 19.05 mm by default (Cherry MX standard). You can change the mm/U ratio in the Keyboard Metadata panel if your layout uses a different switch pitch (for example, Kailh Choc low-profile at 18mm). This is important when using kle-ng's plate or PCB generators.
Quick Start
Starting Out
- New layout — The editor starts with a sample layout. Use the toolbar to import an existing layout or start editing.
- Select keys — Click a key on the canvas to select it. Click and drag to select multiple keys.
- Edit properties — With a key selected, adjust its properties (size, color, labels) in the Key Properties panel.
Saving Your Work
- Undo — Press Ctrl+Z to undo. The editor maintains up to 50 undo steps.
- Export — Click Export in the toolbar to download your layout in the desired format.
Common Workflows
Design a Layout from Scratch
- The editor opens with a sample layout. To start fresh, select all keys with Ctrl+A and delete them with Del.
- Press A to add a key. A 1U key appears at position (0, 0).
- Adjust its position and size in the Key Properties panel, or use keyboard shortcuts to nudge and resize.
- Continue adding keys and arranging them. Use dedicated tools from right side toolbar to apply rotations or to duplicate symmetric halves of split layouts.
- Export as KLE JSON to save your work.
Edit an Existing Layout
- Click Import in the toolbar and choose From File, or drag a JSON file onto the canvas.
- Select keys to modify their labels, colors, or dimensions.
- Use Extra Tools → Add Switch Matrix Coordinates if you need VIA matrix assignments.
- Export in the format you need.
Generate a Plate for Manufacturing
- Complete your layout design and verify key positions.
- Open the Plate Generator panel and configure switch type and outline.
- Download as SVG or DXF for laser cutting, or STL/JSCAD for 3D printing.
See Plate Generator for full details.
Generate a PCB
- Assign matrix coordinates to all keys using Extra Tools → Add Switch Matrix Coordinates.
- Open the PCB Generator panel and click Generate PCB.
- Download the zip archive with
.kicad_schand.kicad_pcbfiles and open it in KiCad 9+.
See PCB Generator for full details.
Next Steps
- Layout Editor — Learn all the canvas tools, keyboard shortcuts, and mouse controls
- Import & Export — Supported formats and import methods
- Plate Generator — Create manufacturing-ready plate files
- PCB Generator — Generate KiCad PCB projects